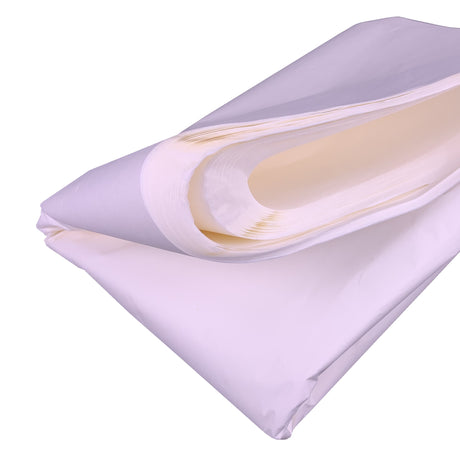
Build lighter, stronger coverings with wet strength tissue paper (WST). It stays strong when wet, shrinks drum-tight, and resists tearing during sealing and painting.
New to WST? Start here: What is Wet Strength Tissue Paper? | FAQ
Why Use Wet Strength Tissue Paper for Airplanes?
Unlike regular tissue paper, WST won’t tear when damp or buckle under glue and paint. It allows smooth shrinking, strong adhesion to ribs and spars, and a lightweight but durable finish — essential for free-flight and RC models. Plus, it’s easier to patch and lasts longer than standard tissue coverings.
Materials You’ll Need

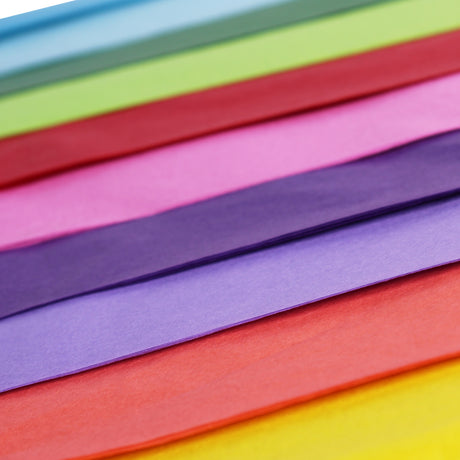
| Wet Strength Tissue Paper | White or coloured; cut oversized panels |
| Model frame | Balsa or ply airframe (wing, tailplane, fin) |
| Adhesives | Thinned PVA, dope-based adhesive, or glue stick |
| Sealer | Nitrate/butyrate dope or water-based varnish |
| Tools | Mister, brush, knife, sandpaper, clips |
Step 1: Prep the Airframe
- Sand smooth: Round off sharp edges of leading/trailing edges and rib caps; remove splinters that could puncture the tissue.
- Dust off: Wipe the frame with a dry cloth — dust will weaken adhesion.
- Seal high-wear spots: Apply a thin coat of sealer to the nose, tips, and hinge areas for added durability.
- Dry-fit: Cut tissue panels with a 10–15 mm (⅜–⅝″) overlap around each bay/frame.
Step 2: Attach the Tissue
- Tack one edge: Brush a thin line of adhesive along the leading edge or spar. Lay tissue and gently burnish.
- Pull & wrap: Lightly tension across the bay and tack the opposite edge. Keep tension even — no stretching.
- Work rib by rib: Add a tiny amount of glue to rib caps; press tissue with the brush tip or finger cot.
- Neaten corners: Miter overlaps neatly to avoid bulky folds and trapped air.
- Repeat other side: Cover underside first, then top (or vice versa) for consistent shrinkage.
Step 3: Shrink & Seal
- Mist to pre-shrink: Lightly mist with clean water; let dry flat. WST resists tearing and tightens evenly.
- Optional heat: Use low heat at a distance to chase sags. Keep the nozzle moving to avoid hot spots.
- Seal coat #1: Apply a thin, even coat of dope or water-based varnish. Let it cure fully.
- De-nib: Lightly sand with 600 grit if needed; wipe off dust.
- Seal coat #2–3: Apply 1–2 additional thin coats for a drum-tight, fuel-resistant finish.
Classroom-friendly option: water-based polyurethane/acrylic. Solvent-based dope requires good ventilation and PPE — always check safety data.
Step 4: Reinforce & Finish
- Patches: Add cross-grain WST patches at hinges, tips, and the nose before the final seal coat.
- Panel lines & decals: Draw directly onto sealed tissue or apply decals between seal coats for a smooth, blended look.
- Weight check: Use multiple ultra-thin coats instead of one heavy coat to keep weight low.
Wrap Up
Using wet strength tissue paper gives your model airplanes a professional finish that’s durable, lightweight, and easy to maintain. From beginners in classrooms to experienced hobbyists, this is the go-to covering for creative builders.
Tools & Materials
Everything you need to build, paste, and shape with confidence.
Masking Tape – 25mm
Clean edges, easy removal. Ideal for holding tissue in place, masking paint lines, and tidy overlaps.
Shop now →
PVA Medium Glue
Reliable adhesion for wet strength tissue. Thin with water for brushable paste; dries clear.
Shop now →
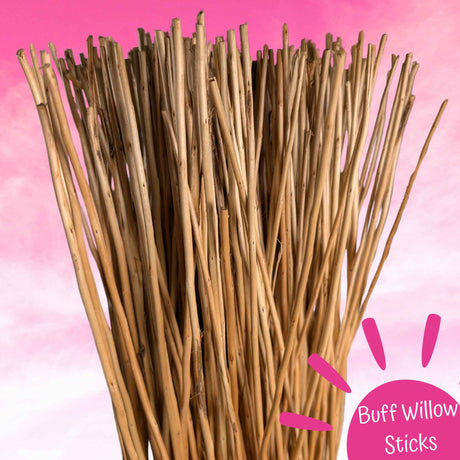
Withy / Willow Sticks – 2kg
Natural armatures for lanterns & structures. Lightweight, strong, and perfect with WST overlays.
Shop now →
Share your builds and tag us on Instagram @CarnivalPapersUK for a chance to be featured.

Featured Products


Aluminium Wire Rod 3.2mm 10m Length