Long willow sticks aren’t the easiest things to fit into a bucket. If you’re preparing them for wreaths or curved sculptures, a willow soaking bag gives you somewhere to soak them without taking over the bath.
It’s a simple piece of kit: a long plastic sleeve, sealed at one end, which holds your willow and water while the rods become flexible enough to shape. Afterwards, empty it, let it dry and fold it away until your next project.

Watch: how to use a willow soaking bag
Watch our demonstration, then follow the illustrated steps below when you’re ready to prepare your own willow.
Having trouble playing the video? Open the willow soaking bag demonstration.
Do you need to soak your willow?
It depends on what you’re making. For straight frameworks and gentle bends, you can use our buff willow dry. For wreath circles and tighter curves, soak it first. We’ve found that a couple of hours works well with our willow before forming a wreath.
The bag gives you a convenient place to prepare your rods, whether you’re working at home or getting supplies ready for a group. If you’re new to the material, our beginner’s guide to working with buff willow introduces the tools and types of projects you can try.
What you’ll need
- A Willow Soaking Bag. Ours measures 165cm × 41cm and comes with cable ties.
- Your willow rods. We supply a 2kg willow bundle, with a larger 5kg option available through our willow sticks collection.
- A jug or watering can.
- A smooth support to keep the opening raised, if needed.
- Somewhere suitable to drain the water afterwards.
Check the fit before adding water. You’ll need room to fold and secure the opening. Rods close to, or longer than, the bag’s length may need trimming to suit your project. Don’t force dry sticks into a bend to squeeze them inside.
How to use your willow soaking bag
1. Choose your spot
Set the bag up where the willow will stay while it soaks. Once it contains water and rods, it becomes awkward to move.
Choose a flat, smooth surface where a little spilled water won’t cause a problem. A suitable garage or shed floor, or a sheltered outdoor spot, can work well. Clear away sharp stones and anything else that could puncture the plastic.
Leave yourself access to the opening for filling and draining. Avoid dragging the loaded bag across the ground.
2. Slide in the willow
Feed the rods carefully into the open end, keeping cut ends from catching against the plastic. Ease them into place rather than pushing the whole bundle against the sealed end.
If your willow is bundled, loosen the ties enough for water to reach between the rods. Leave space inside the bag: packing it tightly makes the willow harder to reposition and puts more strain on the plastic.

3. Add the water
Keep the opening raised and pour water in gradually with your jug or watering can.
Add enough for water to reach along the rods, leaving room to close the bag. It shouldn’t be stretched tight or bulging with water. Gently settle the willow as you fill to release trapped air.
Check that water is reaching the far end before closing the opening.

4. Fold and secure the opening
Fold the open end over and secure it with a supplied cable tie. Keep the opening raised so water isn’t constantly pressing against the closure.
If you need a support, use something smooth, or cover a rough brick so it can’t rub against the plastic.
Check for escaping water before leaving the bag. If the closure seeps, raise the opening and adjust the fold. Keep the bag supported on the ground; the tied opening isn’t a handle.

5. Give the rods an even soak
Check the willow during soaking and gently reposition the rods so each side gets contact with the water. Keep the opening raised and avoid lifting or flipping the whole water-filled bag.
For our buff willow, start with a couple of hours. That’s the preparation we use before making our wreath circles. You don’t need to leave it soaking overnight as a default.
Check the bend as well as the clock. Gently curve a rod along its length: it should move into the shape you need without being forced into a sharp angle.
If it still resists, allow more preparation time and check again. Set aside damaged rods rather than trying to work around a split.

6. Drain and get ready to make
Keep the bag supported on the ground while you open it. Release the cable tie if possible. If it needs cutting, keep the cutting tool clear of the plastic.
Direct the opening towards your chosen drainage area, then gradually raise the sealed end just enough to let the water run out. Support the bag as you go rather than lifting the whole weight by one end.
Once drained, the willow can rest in the bag briefly while you get ready to work. This resting stage is sometimes called mellowing.
Take out a few rods at a time and keep the others covered during your making session so they don’t dry out too quickly.
Looking after your bag and leftover willow
- Dry unused willow before storing it. If you won’t be working with it soon, remove it from the bag and let it dry thoroughly. Don’t leave it shut in a damp bag.
- Avoid repeated soaking. Prepare the amount you expect to use rather than repeatedly wetting and drying the same buff willow.
- Remove loose pieces. Check for broken tips or debris that could catch the plastic.
- Dry the bag inside and out. Leave the opening accessible so moisture can escape.
- Check it before reusing. Look for holes or damaged seams, then fold the dry bag away.
Willow soaking bag FAQs
Can I put a whole bundle in the bag?
Check the fit rather than relying on the bundle’s weight. Rod thickness and length vary, and you need space for water and for closing the opening. If the bag feels tightly packed, soak a smaller batch.
What if water leaks from the top?
Raise the opening, check the fold and make sure the bag isn’t overfilled. Keep it somewhere that can tolerate a spill while you adjust it. If water is coming through a hole or damaged seam, empty the bag and check it before using it again.
Can I move the bag once it’s full?
It’s much easier to choose the right spot before filling. If you need to move it, drain the water first. Don’t drag the loaded bag or carry it by the tied opening.
Why is my willow still cracking?
It may need more preparation, be damaged or be bending too sharply in one place. Ease the curve along the rod rather than forcing a tight bend at a single point.
Can I leave the willow in the bag until next week?
The bag is useful for keeping prepared rods covered during your craft session, but it isn’t a place to store damp willow for days. Remove unused rods and dry them thoroughly before putting them away.
What will you make next?
With your willow prepared, you can get on with shaping wreath circles, curved lantern details and sculptural forms.
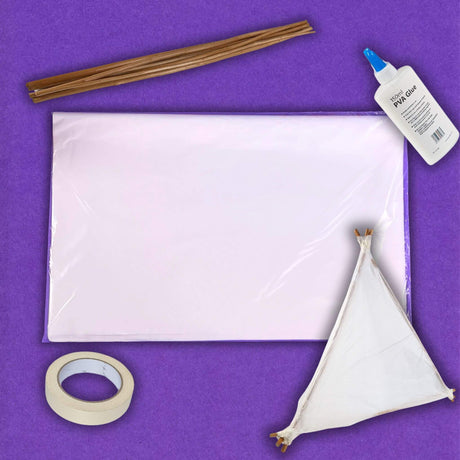
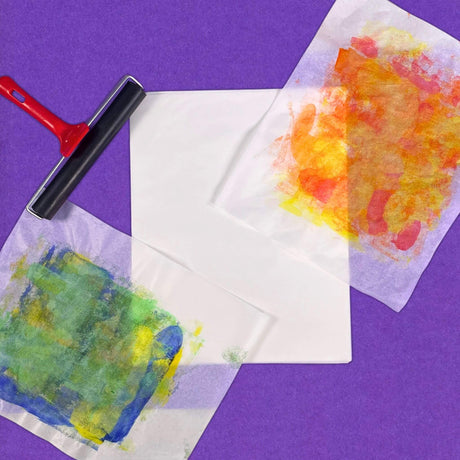
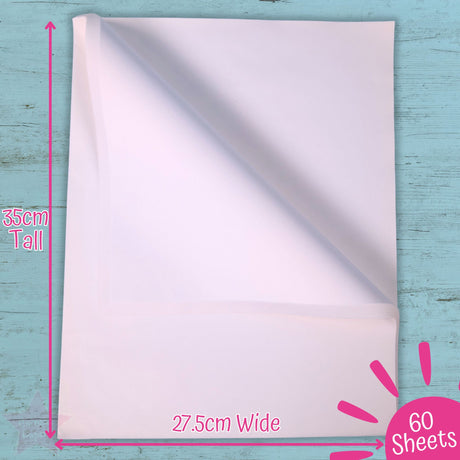
For a wreath, we used 6–7 sticks in our demonstration. If you fancy a lantern project, follow our step-by-step willow lantern tutorial and use wet strength tissue paper to cover the frame. Remember that straight-sided lantern frames may not need soaking.

Get your willow soaking bag and have it ready for your next making session.
We’d love to see what you create. Tag @carnivalpapersuk on Instagram to show us your finished project.