A fun winter craft using strong layers and simple shapes. Perfect for classrooms, clubs, and festive displays.
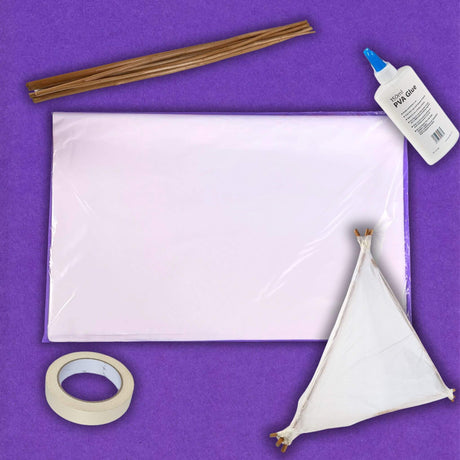
You’ll Need
| Item | Notes / Alternatives |
|---|---|
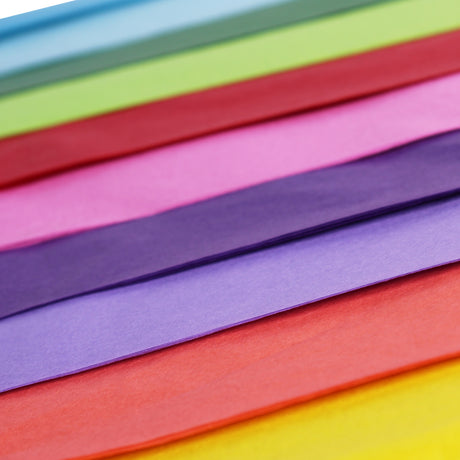
| Wet strength tissue paper | Tears less when wet; ideal for layering strength |
| Large sphere (football works!) | Any large round form; cover with cling film first if needed |
| PVA glue + water | Mix to a brushable paste (see Step 1) |
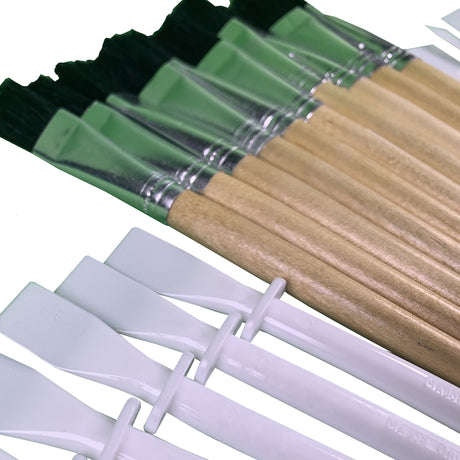
| Paintbrush + black paint | Acrylic or poster paint |
| Scissors | For flippers, feet, and beak |
| Orange card | Feet + beak |
| Black card | Flippers |
Step-by-Step Tutorial
Step One: Mix your paste: Combine PVA glue with a little water until smooth and brushable.

Step Two: Build the body: Brush paste onto the sphere, layer tissue strips, and repeat until covered. Let dry for 5–10 minutes.

Step Three: Add the feet: Cut two large orange card feet, glue to the bottom, and allow the structure to dry for 1 hour (or until firm).

Step Four: Make the details: Cut flippers from black card and a beak (One triangle) from orange card. Set aside.

Step Five: Paint the penguin: Once dry, paint half of the body black, leaving the tummy white. Let dry completely.

Step Six: Finish the face: Glue on the beak, flippers, and eyes (draw, cut from card, or use stick-on eyes).

✨ And there you have it — a giant, adorable penguin ready to display! 🐧

Pro Tips
- Overlap tissue strips for strength.
- Two or three thin layers dry faster and hold better than one thick layer.
- Hold card pieces in place for a few seconds so they stick firmly.
FAQ
| How many layers of tissue? | 2–3 full layers are enough, add a 4th for joints. |
| How to speed drying? | Thin layers + airflow. Avoid high heat sources. |
| How to hollow it out? | Wrap the ball in cling film first, then remove once dry. |
🐧 We’d love to see your penguins! Share your creations with us.
Tag @CarnivalPapersUK